How to Transfer cPanel Accounts
Important Note: The screenshots are of cPanel's old paper_lantern theme, but the interface should be generally the same.
Contents
- Step 1: Log in to old cPanel. Go to Backup.
- Step 2: Download Partial Backups.
- Step 3: Log in to new cPanel. Recreate addon domains and subdomains.
- Step 4: Recreate email accounts.
- Step 5: Go to Backup. Restore Partial Backups.
- Step 6: Check Databases
- Step 7: Final Troubleshooting
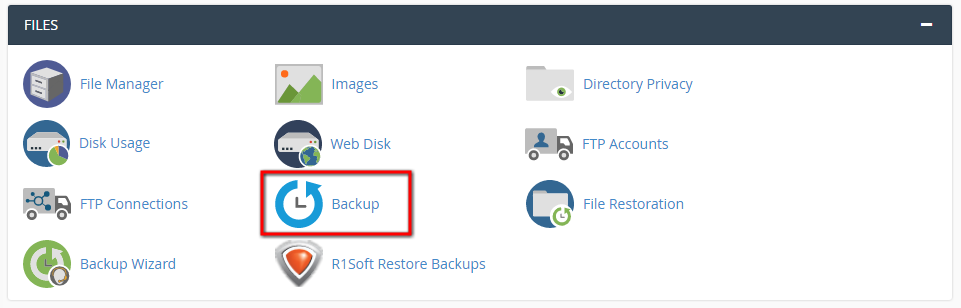
Step 1: Log in to old cPanel. Go to Backup.
Log in to your old cPanel account, and click Backup.
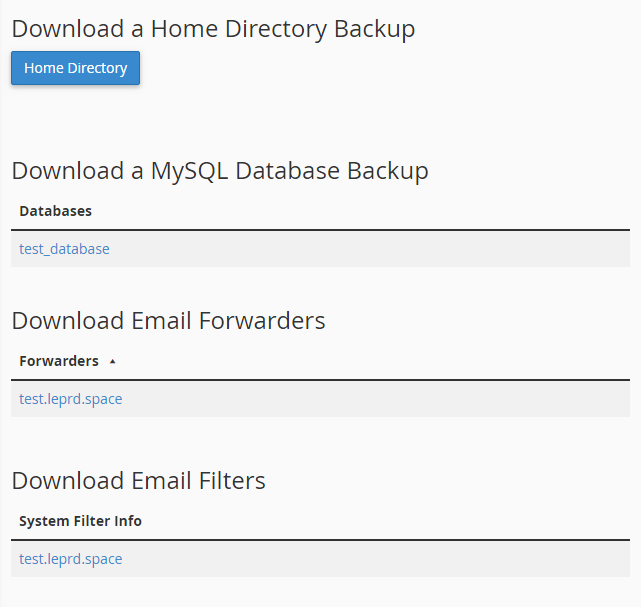
Step 2: Download Partial Backups.
Under Partial Backups, download everything — Home Directory Backup (which contains all your cPanel data, including files, emails, and statistics), MySQL Databases, Email Forwarders, and Email Filters.
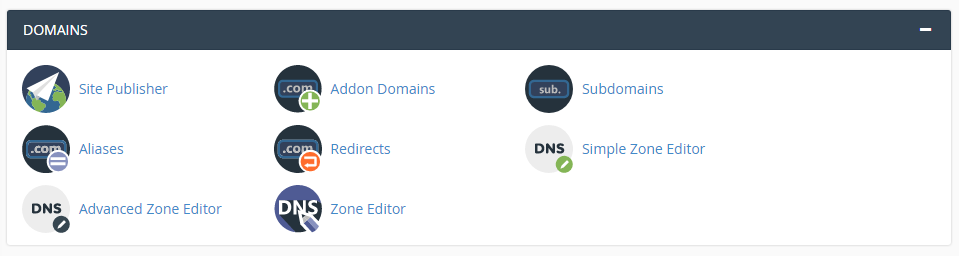
Step 3: Log in to new cPanel. Recreate addon domains and subdomains.
Log in to your new cPanel account. Recreate the addon domains and subdomains from your old account. You can do so under Domains. If you have any custom DNS records configured on your old cPanel, you need to recreate them on your new one as well.
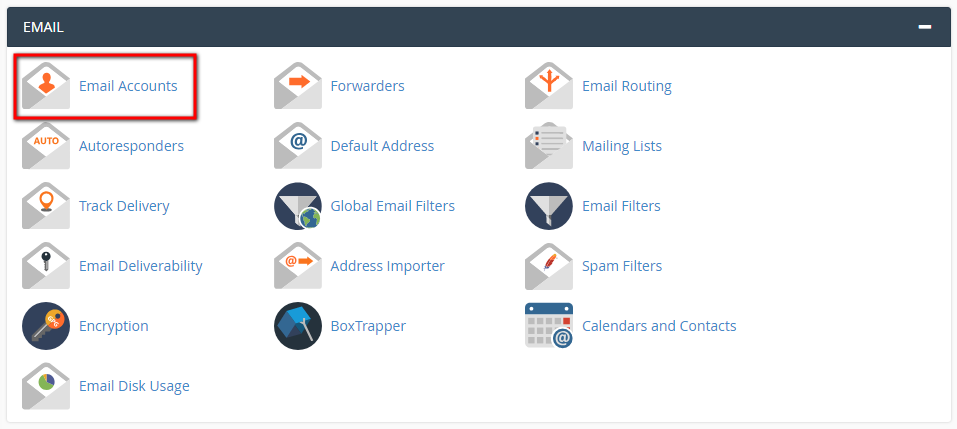
Step 4: Recreate email accounts.
Recreate the email addresses from your old account. You can do so under Email Accounts. To transfer your emails from your old cPanel account to your new cPanel account, you need to have the same email accounts set up.
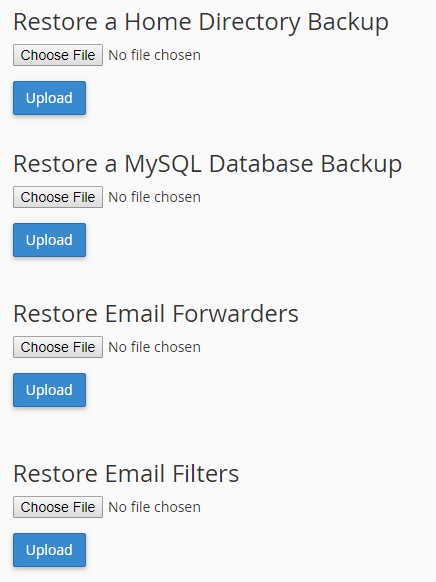
Step 5: Go to Backup. Restore Partial Backups.
In your new cPanel account, click Backup.
Under Partial Backups, upload everything you've downloaded from Step 2 one by one.
Step 6: Check Databases
After you have restored everything, check the integrity of your databases. Check your database prefixes; because of the change in your cPanel username after the transfer, you might have to rename your databases. For example, after restoring, your database names will appear as newusername_oldusername_databasename. You just have to rename them to newusername_databasename.
Since the database users are not included in the transfer process, you will have to recreate the same database users on your new cPanel. Do not forget to assign these users to their respective databases. All these tasks you can do in MySQL® Databases.
Afterwards, make sure to update your software configurations to use the updated database information.

If you are having difficulty with this step, feel free to ask for assistance!
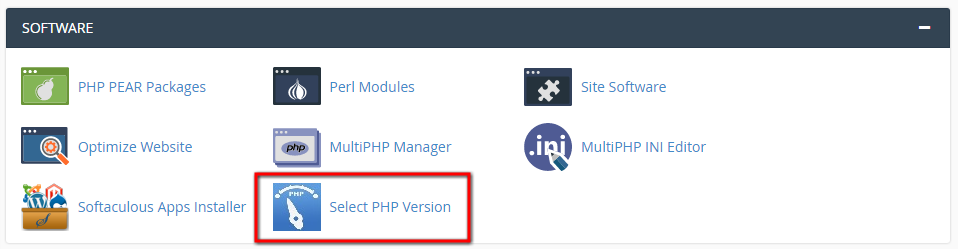
Step 7: Final Troubleshooting
Compare your old cPanel settings to your new cPanel settings. If you have cron jobs set up on your old account, you have to recreate the same cron jobs on your new account.
Check your websites for any errors. Usually, errors are caused by PHP version incompatibilities. To select the required PHP version, go to Select PHP Version. Check if the PHP version, modules, options, and extensions you need to run your websites are enabled.
Congratulations, your cPanel transfer has been completed!